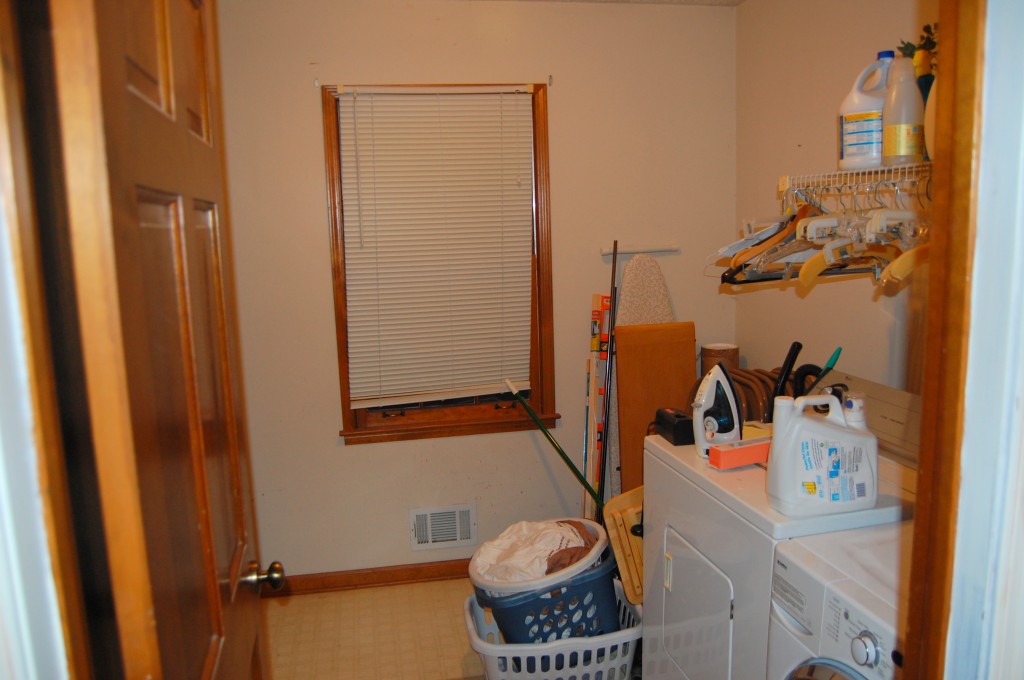
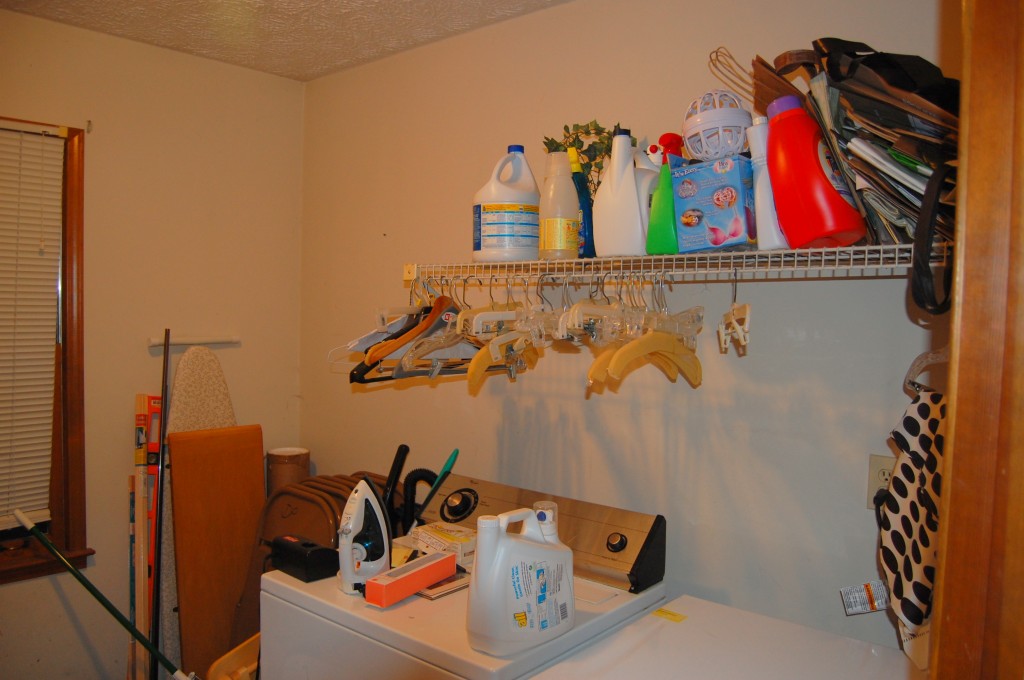
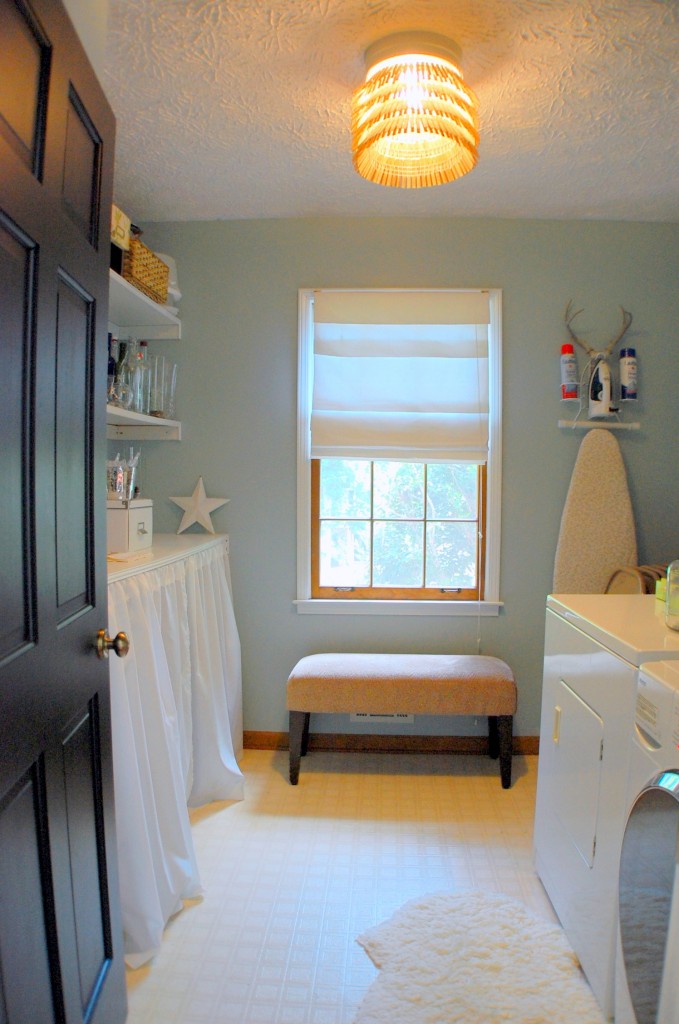
The laundry room has been getting on my nerves. It was crowded with a bunch of stuff, as if it were a storage bin that happened to have a washer and dryer in it. I’m also pretty sure it hadn’t been painted since 1986.
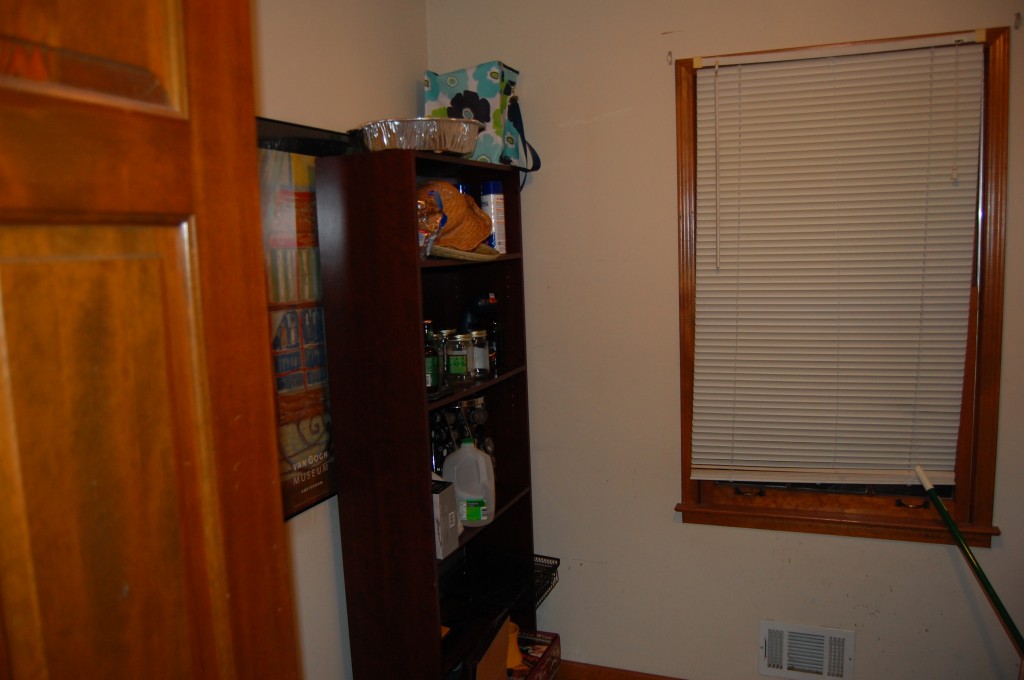
It was pretty clear that it wasn’t working well the way it was. It became the junk room, catch all spot. It is a nice size. It even has it’s own closet. But in the room itself, there were no shelves for storage. There was nothing that really made it functional for laundry or anything else.
At first, I planned to tackle it in phases. Weekend one: sort, declutter, and clean. Weekend two: put up shelves. Weekend three: paint. Of course, that’s not the way it went. Guess what? One day, a handyman just arrived at my doorstep. Yes, really. Oh okay, yes, I knew him beforehand. And yes, he is my uncle. And you got it, he volunteered to put up shelves for me.
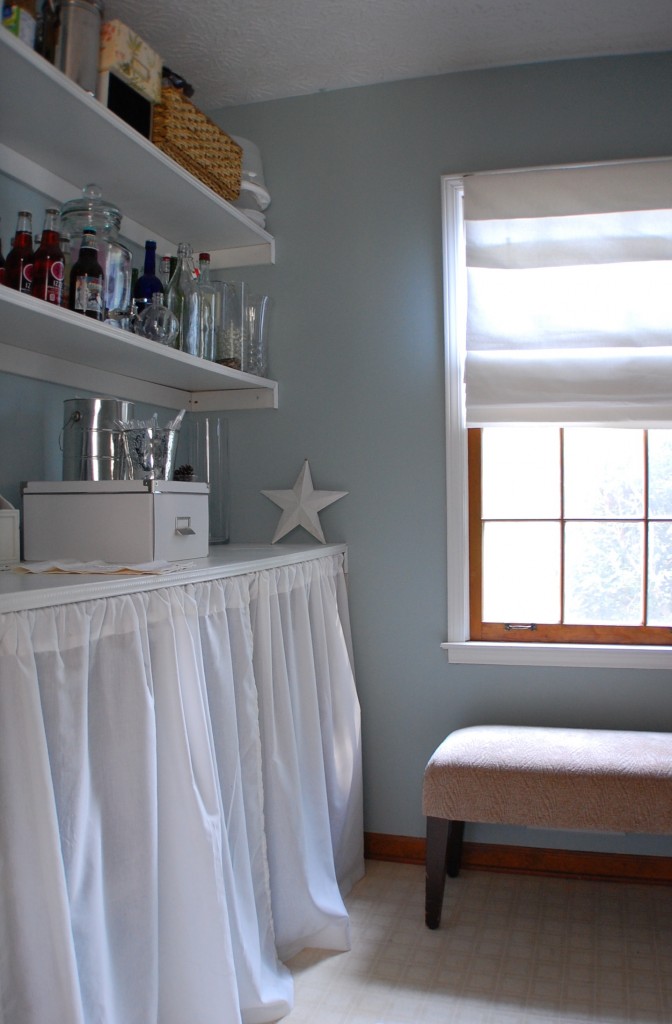
We bought one piece of melamine board and cut a wide enough piece for a countertop and then two pieces a smaller width for the shelves. Putting it all up really didn’t take long. He trimmed all three pieces out in a wood trim that we already had in the garage from a previous project.
Once the shelves were up, I moved the mess out, I painted and then scrubbed the floors and baseboards. The color I chose for the walls is Glidden’s Icy Teal. The online paint chip looks green but it looks more blue in real life.
For more private storage, I hung curtains on a tension rod underneath the countertop. I used Ikea’s VIVAN curtains and just cut them to the right length.
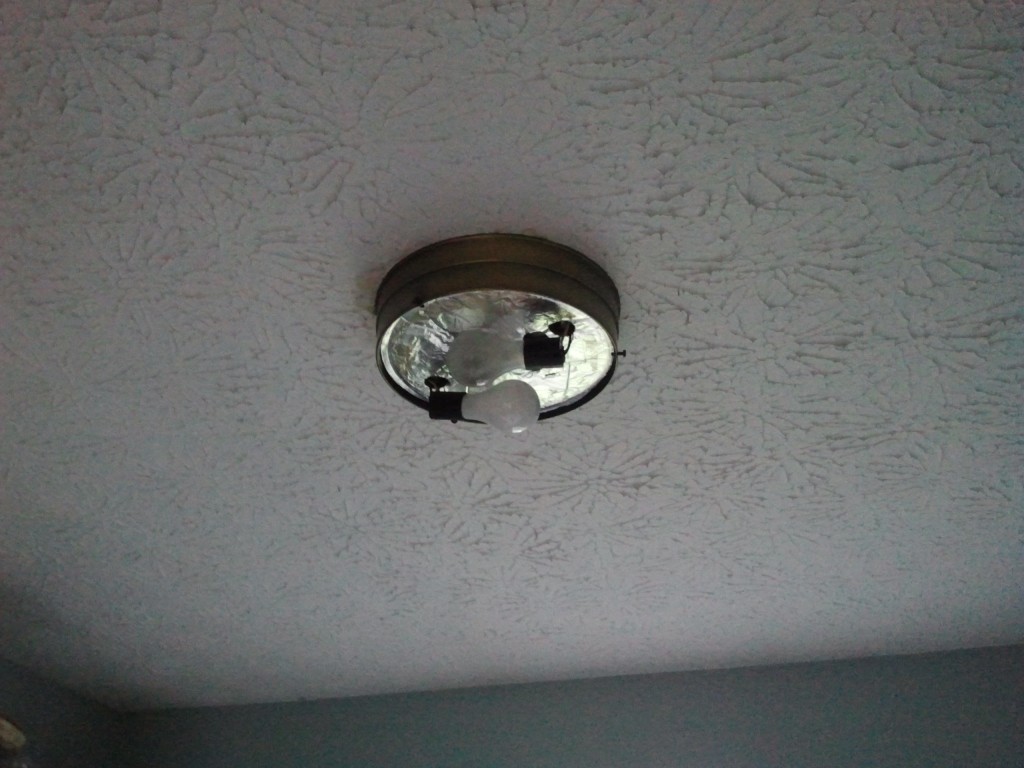
Notice the light fixture that’s been in the room since I moved in. It didn’t exactly look like this the entire time This is how it’s looked since someone broke the glass sphere that surrounded it.
I took inspiration from the Pinterest Challenge and created a clothespin chandelier that I hung right on the screws that used to hold the old glass in the fixture. Super simple.
I am not a fan of that walnut wood stain that is so prevalent in my house, so I am going to paint all the baseboards and trim white eventually. We also need to do something about the floor. It’s old and worn out. Despite that stuff, the room is just much better now and I am so glad! Basically it’s the opposite of what it was before: a complete disaster area. YAY YAY YAY!
Cost breakdown (amounts rounded up):
- Materials for shelves – $45
- Paint – $20
- Baskets – $30
- Rug – $10
- Curtains and rod – $22
Roman shade – $16- Clothespin light fixture – ($18 for clothespins and wire fencing, everything else we already had)
- Total:
$161.00$145.00
You may notice the window remains naked. The roman shade I chose is on back order. I also plan to find a bright rug for the floor. And with that we’ll call it a wrap…..until we get around to replacing the floor that is. 🙂
-J
9/5 Update! This may sound crazy, but can you believe I found a white roman shade in a closet upstairs? I’d gotten it a few years ago for a bathroom and decided to go a different route and it was just stashed away in the original packaging! So, I canceled my back ordered shade and hung this one, originally from Target, instead. Yay!
Sharing with Remodelaholic



what a wonderful makeover…and affordable. just took the inspiration and creative juice to make it happen….kudos!!
WOW! Can you help me decorate my house
beautiful! I love the color
Amazing transformation! Great ideas! Maybe there’s hope for my washer/dryer area.
You did a great job. Love the color and everything has a place. Nice to have a big laundry room. Must make you want to keep up with the laundry now.
Thanks all!
Wow!! It should be entered in the Better Homes and Gardens room makeover!
very cool looking. glad you were able to use him a bit.
What a terrific update! I need to add the laundry room at my house to my “to do” list. Love the clothespin light fixture!
Cathy @ Room Rx
Your room turned out great. The shelving and storage are so pretty AND functional. Love the clothes pin shade. Thanks for linking to my party!
I showed my hubby this post, and I think it was the added push I needed to get him to move his home office out of the laundry room and give it back to me (along with a little push from a water disaster in my home office space in the lower level, which I agreed to let him have once we get it reno’d, if he agreed to give back my laundry room space). I also have a large space, but it was a hot mess, and now is well on it’s way to being a laundry haven. Thanks for showing him what this space is really meant to be:-) btw…. I need those shelves!!!
How amazing that the roman shade fit your laundry room window. It really completes the look!
ha! Isn’t that the way it goes? I always find things stashed away too… I love what you did to the room though, so organized and bright…. almost makes me want to do some of my laundry that’s been piling up…. almost.
you’re a riot, j! i love the lighting feature. spectacular!! very creative.
Your laundry room looks great! So much more organized and the color on the walls is so pretty!
I really love how it turned out! What a differnece some paint and organization can do! FYI your light fixture is so COol! Great job!
I love the color and fresh look of the space. Great job!
This looks so adorable! LOVE the color and the chandelier. Shelving makes such a huge difference!
Terrific job! What a huge difference you made to this room. The clothespin chandelier is awesome. Thanks for linking up to Roomspiration- Laundry rooms.
I LOVE clothespin chandy! I searched for a tutorial but I didn’t see one. Any chance you’ll do a tutorial soon? I’d love to see what you used and how you did it. I pinned one forever ago, but can’t figure out how to execute the look I want!
Best
Jennifer
Sorry! I didn’t do a tutorial b/c I basically used the same process YHL did here: http://www.younghouselove.com/2011/08/320-pins/
Mine was a little simpler because of the way I chose to clip on the pins and I had a light fixture already in the room that had a broken glass globe. I didn’t even change the base part that holds the bulb, I just sprayed it white and just attached my clothespin chandelier directly to the existing base by hanging it on the 3 screws present. I used wire fencing found at Home Depot.
Wow! Your old laundry room looked like mine before my little makeover and your after has some of colors I went with for my new look! I have a few finishing touches before I am done with mine. Love that clothespin light! Did you paint the door as well? It looks darker in the after photo? My door is oak and I painted the interior white but I may paint the exterior a darker color as every door downstairs is oak and I’d light to go a shade darker for contrast.
Thanks! Yes, I painted that door black. You can see it here.
I love it all. The light is fabulous. I love the antlers on the iron too.
Pinning.
xoxo,
Cheri
You probably think I’m such a spaz! I think I emailed you twice about this room! Well, I guess that just means I double love it. 😉
Hey Jae! Just posted it on my blog so everyone could see. Thanks again for the great inspiration. Have a great day!
I just purchased a new home but my washer and dryer are in my main bathroom so were going to build on a mud room/ laundry room and I loved the clothespin light could you please put a pic of it finished for me to see…Thanks
Hi Lana, the 3rd picture in the post shows the finished clothespin light. Did you mean something else? I basically used the same process YHL did here: http://www.younghouselove.com/2011/08/320-pins/